Wednesday, October 12, 2011

Yodel Ay Hee Hoo! Its a Jessie Party!


I'm so excited to share my daughter's Jessie Party with you!  Its one of my favorites to date and I'm so happy with how it all turned out!  Its chock full of cow print, red bandanas and of course the one and only cowgirl herself, Jessie!

What you can't see in the picture above are the super cute cow print balloons I found at Hobby Lobby!  They are just out of frame (I never said I was a professional prhotographer!)  There were bandanas everywhere...on the tables, hanging from above, and incorporated into the supercute printables made by the awesomely talented Pinkadot Shop


 Let's talk party food!  I tried my hand at the infamous Jessie Hat cookies that everyone seems to make beautifully themselves.  (Again, not a professional in that area!) I consider myself a decent wannabe baker so needless to say I was surprised when it took me 3 tries to perfect them, and using the word "perfect" is a little much.  But I was happy enough to put them out on display and the kids ate them up!!  To counteract the cookies I put out little fruit salads in cupcake wrappers, which ended up just as big as a hit!  We also LOVE smores on a stick in our house so I thought they were a great compliment to the party food.  Chicken nuggets, pigs in a blanket, and strawberry and banana (red and yellow colored) flavored popcorn also rounded out the food tables!

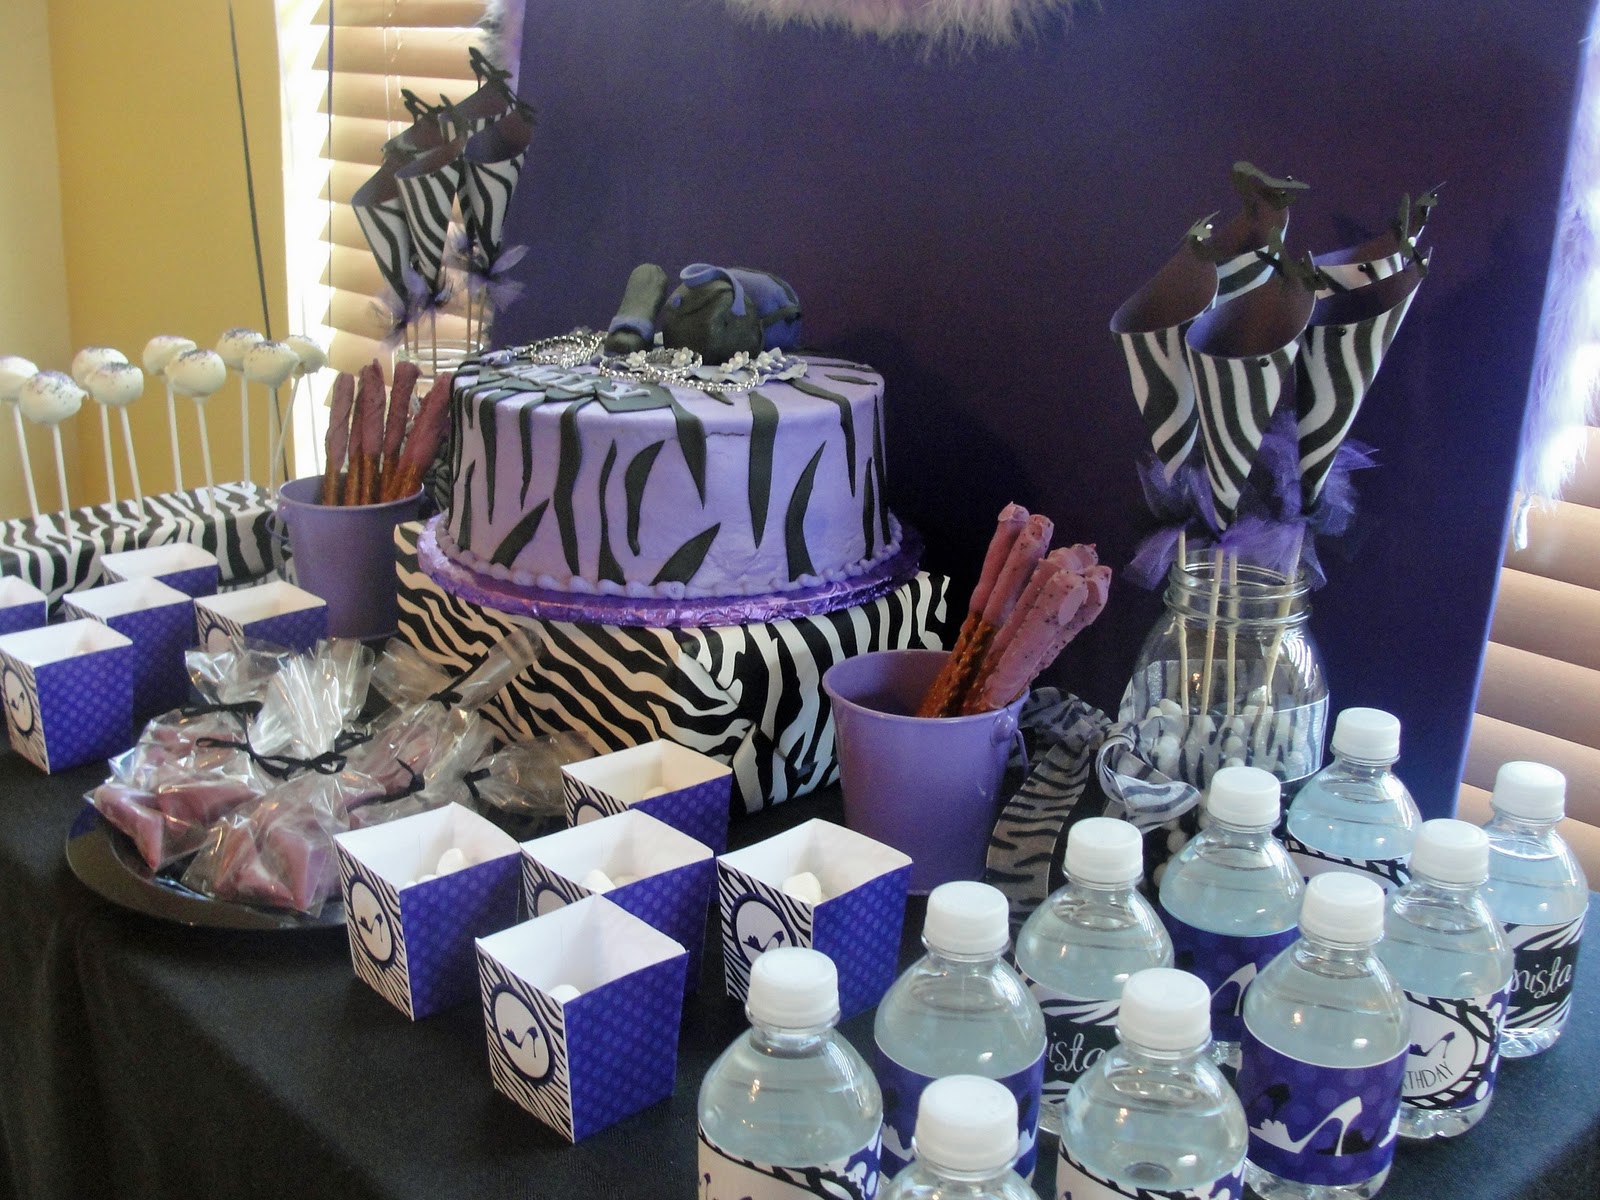
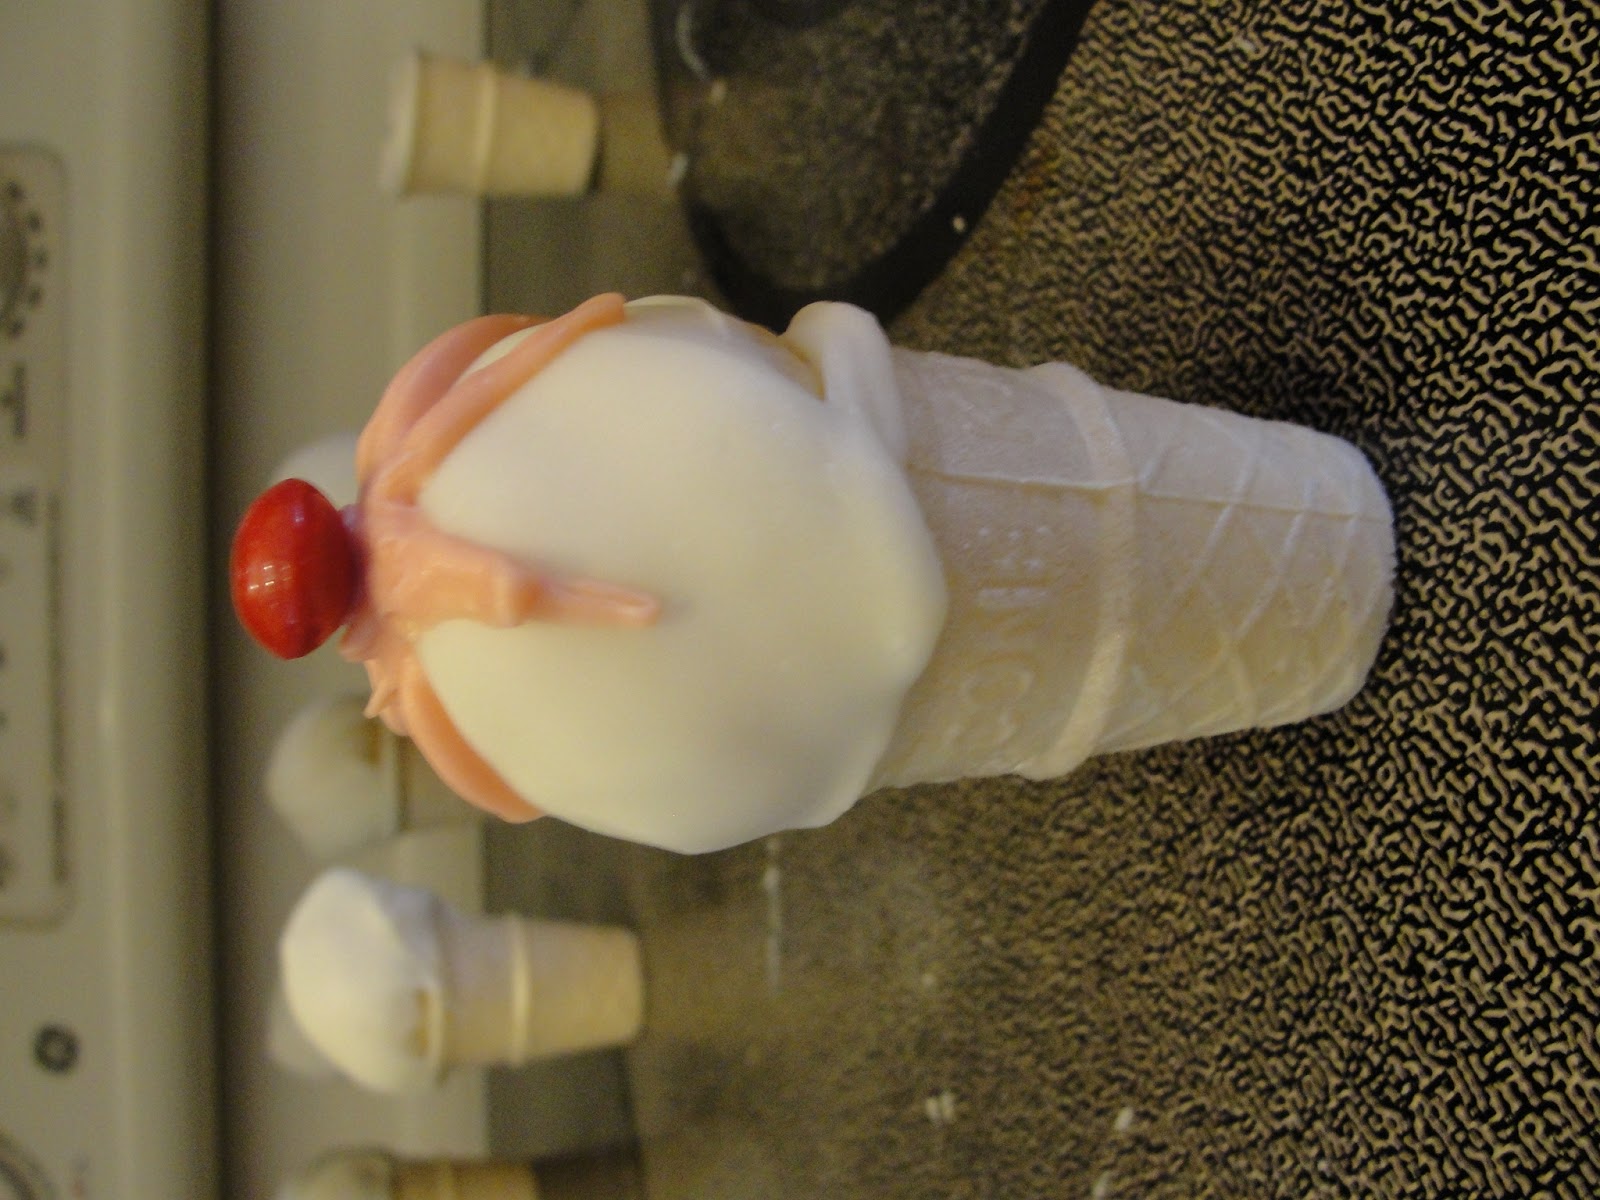
No party is complete with Kandy Kones by the Superchick!  I told her the theme and colors I wanted and she immediately went to work!  The result?  Those supercute Jessie Kones, complete with a Jessie hat and braid!  I could have died!!  The cake from Sweet Designs Kitchen looked AMAZING and couldn't have matched the whole theme better!  If you are local to the Orlando area, Sweet Designs Kitchen makes the most delicious cupcakes and cakes you'll ever have the pleasure of eating! 


The Toy Story Photo Booth was the biggest hit of the party with the kids (and the adults too)!  I made all the props myself, mostly just cutting the cardstock by hand. I used my Cricut for the thought bubbles and Mr Potato Head Nose.  For the Etch a Sketch frame, I just cut out some foam board and painted it red, and glued on two water bottle caps for the knobs.  Easy Peasy!  I found the cloud fabric (Andy's Room) at Hobby Lobby.  It really was the highlight of the party and made me want to add a photo booth to every themed party I do in the future!


I cannot take credit for The Claw game.  I saw it somewhere along the way in my planning and just had to have it.  Its perfect for the 5 year old age group of children there.  Its a small tub filled with prizes like glow bracelets, pop rocks, and rainbow chewy candies.  I cut out aliens and glued them on to some of the prizes, and cut out a "spaceship/rocket" with a window and taped it to the front of the tub.  The kids loved using tongs as "the claw" to grab the prizes out with.  Again, easy peasy!   I printed Toy Story activity books for each Pre K child.  And I also made sure our Mr and Mrs Potato Heads were out for the kids to play with.  The activity table was ready with foam door hangers for the kids to decorate.  The local Dollar Tree had lots of Toy Story games I added to the activity tables to keep the kids busy!  Oh, and speaking of the Dollar Store I also grabbed a couple of ropes from there and put my daughter's rocking horse out for the kids to "lasso". 

It was a great day and one my daughter will always remember!  Her adorable Jessie outfit came from Personalize it by Jackie.  Don't you just love that cow print skirt?!


I'm not really sure how I'm going to top this one, but luckily I have a few months to think about it!   Thank you again to everyone who helped make the day so special!

Thursday, October 6, 2011

Welcome to Hogwarts

We're boarding Platform 9 3/4 to the Hogwarts Express!  I was thrilled when a client (and a friend) asked if I could design a Harry Potter themed party for her 7 year old daughter.  I had never done one before but am a HUGE fan of the books and the movies and was totally up for the challenge! 

I knew we had to fill the party room with Gryffindor colors, potions in jars, and floating objects.  The table was made up with a cauldron full of "scary" chex mix and a magical-color changing drink at each setting.  We even had a photo booth complete with a HP costume! 


The children loved the color-changing drinks.  I put a few drops of food coloring under the ice in each cup.  The children picked their places and then we poured the (clear) soda.  Every cup was different and we had a framed chart on the table that the children could use to match their color to a description.  Red = Powerful, Blue = Royalty, etc.  It was a huge hit!


No Harry Potter Party is complete without a Potions Class!  After testing and tweaking and tweaking and testing (for what seemed like hours!) I had come up with the perfect potions recipe.  (Email me if interested!) I put all the ingredients needed in separate jars and re-labeled with "spooky" names.  I typed up the recipe on scrolls for the kids and let them do two potions.  In the first one, they could follow the recipe.  In the second one, they could use their creativity and more or less of the ingredients on the table, and come up with their own recipe.  What a hit!  Some of the kids made bigger explosions than what I had come up with.  This was one class they did not want to end!


One of the best looking parts of the entire party was the cake and cupcakes!  Everything looked too pretty to eat! 

I loved how everything turned out!  One activity not shown was the wand making craft.  The kids used decorative duct tape, gems, glitter and pipe cleaners to make girlie wands fit for any Hogwarts student!  Special thanks to Frog Prince Paperie for the awesome HP circle tags, Happy Birthday banner, and potions sign and to Sweet Designs Kitchen for the ridiculously cute and tasty cake and cupcakes!

Sunday, September 18, 2011

Country Diva

Over the summer, a client asked if I could theme a small party to go package around the movie Country Strong.  Her six year old loved the music and cast from the movie and wanted to incorporate it into a birthday theme.  I loved the idea, as challenging as it was.  How do I combine Country with Hollywood appropriately for a 6 year old?  Hmmmm....This is a sample of what I came up with....


Thanks for looking!!

Friday, September 16, 2011

She's a Fashionista!

My daughter recently turned 9 and when asked what theme she wanted for her party this year, she said she wanted something Diva-ish, but with a little more pizzazz than the typical diva party.  Together, we created this Fashionista Party that was a big hit with all the girls!  I got a little help from my friend Paula frog Frog Prince Paperie, and this party couldn't have come together more perfectly!  From the red carpet runway show, to designing their own shirts, the girls all had a blast as they became little Fashionista's for a day!


I went straight to Genevieve from Celebration Today - The Superchick Way! for these fabulous Kandy Kones.  After giving her a few details about the colors and theme, I knew she'd come up with something super cute that fit my daughter to a T!  Don't you just love the added sparkle she gave them?!


All the printables you see were created by the mega talented Paula of Frog Prince Paperie.  I worked with Paula on this sun shiny Beach Baby 1st Birthday Photo Shoot seen here.  Her work is beautiful, and once again, she she came up with the perfect design for this party! 


I had the girls collect baskets of bling, makeup, and hair and nail accessories as they came in and they got to work making up each other.  Once they were primped and ready, they hit the runway...


Other activities at the party were bottle cap necklace making, and t shirt design!  Some of the girls went a little heavy with the fabric paint, but they were so creative with everything, I was seriously impressed!


There was so much more going on in this party I wasn't able to capture, but my friend Eric from Cake Time Video put together this awesome music video the girls were able to watch while they ate the yummy birthday cake from Sweet Designs Kitchen.  Check out all the party action here (music personally selected by the birthday girl ;)


Thanks for looking!!

Sunday, July 24, 2011

Ice Cream Cone Cake Pops

I scream - You scream - We all scream for...Cake Pops?? 


Well, if you know me, you know cake pops are my all time favorite dessert.  I consider myself a cake pop "pusher".  I love to make them, serve them and eat them any occassion I can get the chance.  And now, in another attempt to spread the cake pop love, I want to share a tutorial with you for these mini ice cream cone cake pops!  I have to point out that I am a big fan of Bakerella, who has a version of these on her website, where I first saw them.  I came across them again on LAUGH loud SMILE big, who made them look so easy on these mini cones, I just had to give it a try!!  If you have a moment, check out both of these sites for more tips on trying these yourself!

Ok, let's get down to business!  The first step is to buy your packaged ingredients.  That's right, I don't bake these from scratch!  In fact, theres no real baking involved!  Well, except the initial cake, but then you get to destroy it!  Let's get started...


Bake the cake according to the directions on the box. ( I do this sep the night before I'm making the cake pops, that cuts down on time and allows plenty of time for the cake to cool)


Once baked and cooled, you can start to break it, crumble it, tear it...destroy it!  Just be sure to keep it in the bowl.


Add 3/4 of a tub of vanilla icing, and mix it into the crumbs. Mash it with your hands, mixing with a spoon will get a little too messy.


Roll them into little balls, big enough to sit on top of your cone, but don't put them on the cone just yet.  (I used the mini kiddie cones, found at Target).  Keep rolling them until you've used up all the dough.  Lay them out on a cookie sheet and put them in the freezer for about 30 minutes. 


Melt your candy coating according to instructions on the package.  I use the Wilton's Candy Melts, but its really personal preference. 


The next step is to take your mini cone and dip the top of it in the melted candy.  This will act like a sealant so the cake pop doesn't fall off.


Take the cake pops out of the freezer and place each one on its own mini cone.  (I usually do this step a few cake pops at a time, so they don't have time to thaw out before putting them on the cone and dipping). 


You can now dip the cone upside down (it won't fall off, I promise!) and cover the cake pop in the melted candy coating.


Add sprinkles or toppings quickly because the candy will dry in about 30 seconds.


Once I dipped the batch of cones in the white chocolate, I decided to use the left over melted candy as a strawberry syrup topping, so I added a little food coloring to the rest of my white chocolate to make it pink.  The "cherry" is a skittle.


I had some chocolate chips in the house, so did the same with that too. 


THE RESULTS!!

It's that EASY! This dessert is the perfect size and you can decorate them to match whatever color scheme of your party.  Its a fun dessert the whole family will love!   

Please stop by and let me know how your ice cream cake pops turned out!!

Wednesday, July 20, 2011

Minnie Mouse 1st Birthday Party

I had a blast styling this Red and White Minnie Mouse 1st Birthday party for a client recently.  The focus was on a candy buffet table for about 25 children.  I wanted a fabulous centerpiece for this table but I wanted to keep costs low, so I decided to make my own.  {I smell a tutorial coming your way soon} With just some styrofoam balls, a little black spray paint, and some silk flowers, I put together a pretty good Minnie Head. 


My Disney Fonts Cricut cartridge came in pretty handy for this party!  I cut out a couple dozen heads and bows to use as lollipop toppers. 


I was really happy with this candy buffet table.  Here are a few more pictures to share.  The adorable printables {cupcake toppers, water bottle wrappers, and candy bar wrappers} were designed by Pinkadot Shop


Favor bags

Table Centerpeices

The Smash Cupcake

Thanks for stopping by!