
Ok, let's get down to business! The first step is to buy your packaged ingredients. That's right, I don't bake these from scratch! In fact, theres no real baking involved! Well, except the initial cake, but then you get to destroy it! Let's get started...

Bake the cake according to the directions on the box. ( I do this sep the night before I'm making the cake pops, that cuts down on time and allows plenty of time for the cake to cool)

Once baked and cooled, you can start to break it, crumble it, tear it...destroy it! Just be sure to keep it in the bowl.


Roll them into little balls, big enough to sit on top of your cone, but don't put them on the cone just yet. (I used the mini kiddie cones, found at Target). Keep rolling them until you've used up all the dough. Lay them out on a cookie sheet and put them in the freezer for about 30 minutes.

Melt your candy coating according to instructions on the package. I use the Wilton's Candy Melts, but its really personal preference.


The next step is to take your mini cone and dip the top of it in the melted candy. This will act like a sealant so the cake pop doesn't fall off.

Take the cake pops out of the freezer and place each one on its own mini cone. (I usually do this step a few cake pops at a time, so they don't have time to thaw out before putting them on the cone and dipping).

You can now dip the cone upside down (it won't fall off, I promise!) and cover the cake pop in the melted candy coating.

Add sprinkles or toppings quickly because the candy will dry in about 30 seconds.

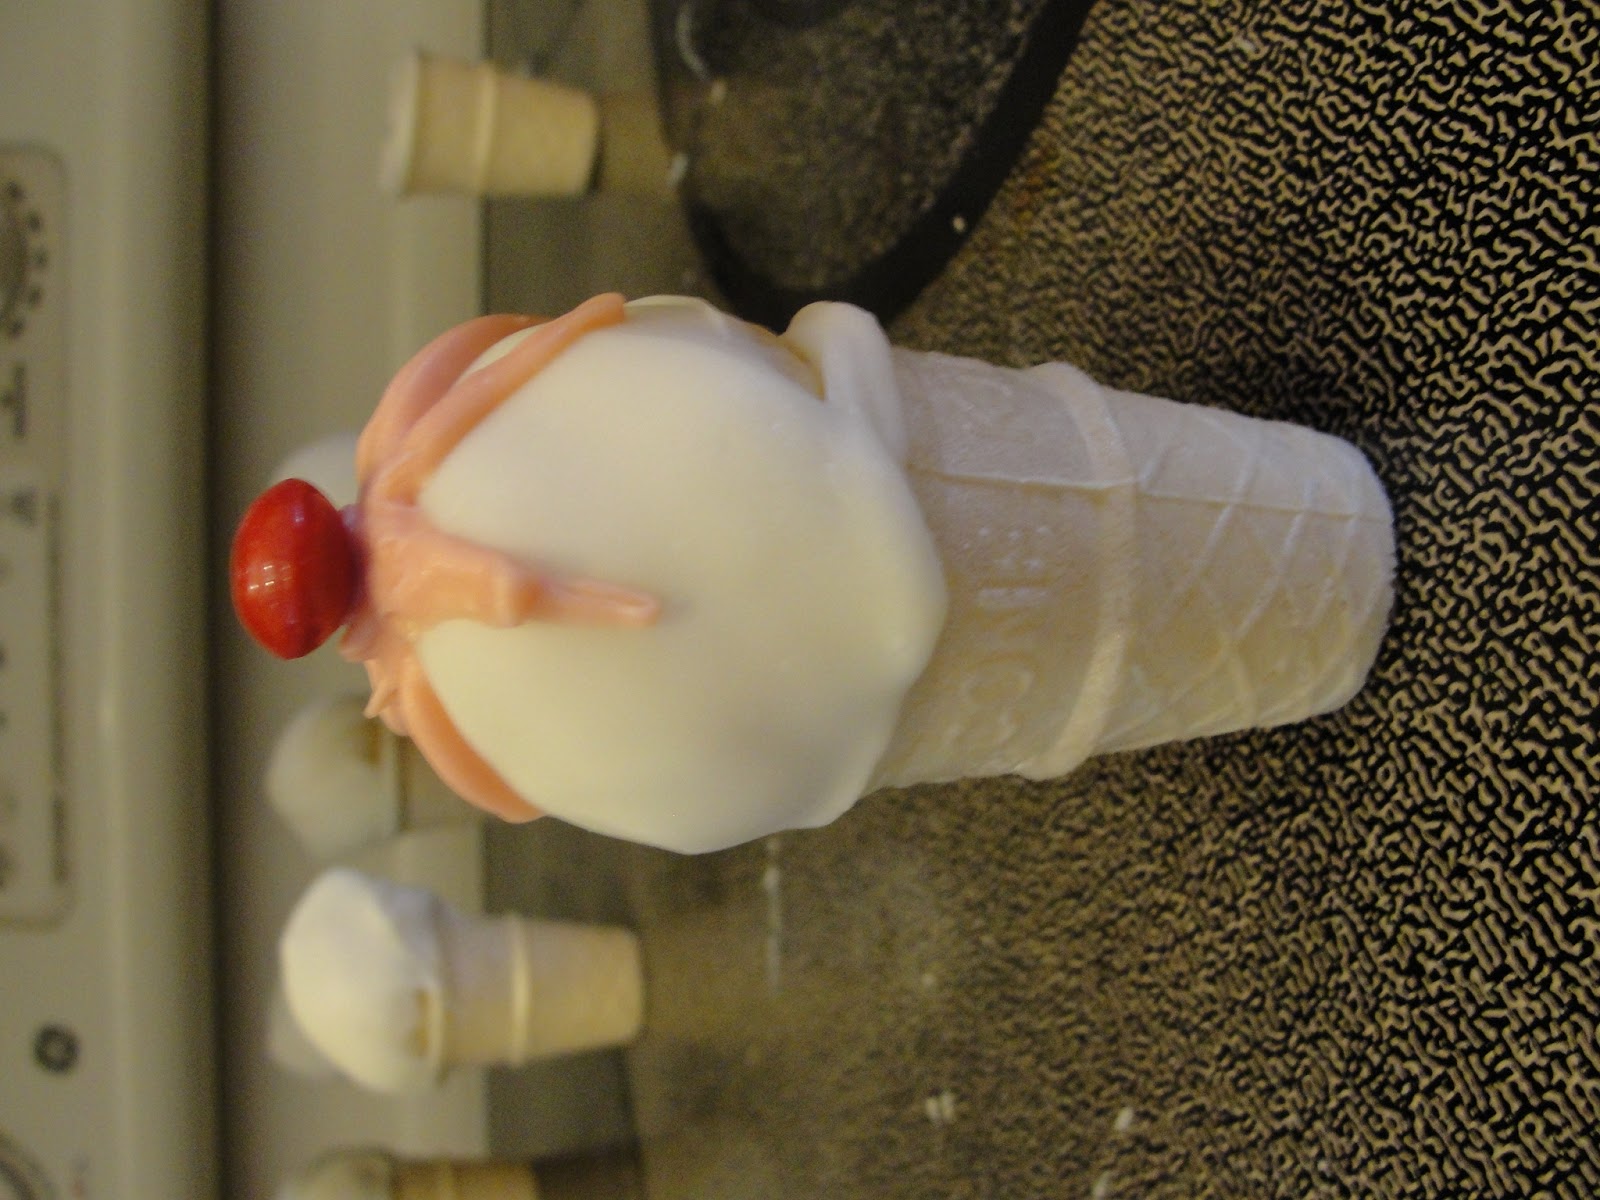
Once I dipped the batch of cones in the white chocolate, I decided to use the left over melted candy as a strawberry syrup topping, so I added a little food coloring to the rest of my white chocolate to make it pink. The "cherry" is a skittle.


I had some chocolate chips in the house, so did the same with that too.


THE RESULTS!!
It's that EASY! This dessert is the perfect size and you can decorate them to match whatever color scheme of your party. Its a fun dessert the whole family will love!
Please stop by and let me know how your ice cream cake pops turned out!!
You've explained it so well, I actually think I could manage these! They're adorable...thanks!
ReplyDeleteThey look so yummy!!! May have to try this some time.
ReplyDelete